
Okay, I worked for a few months to put this together along with LOADS of help! (Shout out to my neighbor Brittany, my sister in law Jen and my sisters Becca and Angelica - most of all my MOM because she cleaned most of it up! The worst part really!), but I am in love with how it turned out! My favorite party to date! I will mention my neighbors like 100 times in this post because I have a SUPER talented neighborhood! The beautiful photography was by my neighbor Sara, check out more amazing work of hers at SaraVazPhotography.com She is so talented!
Okay here we go. I walk you through it...
In the entry way we just hung up some simple banners with some pictures me and my sister took of Elizabeth and her girls at Utah Lake. I really love how they turned out! They dressed with the theme without even knowing what it was! I also put some fruit flavored Lifesavers in some treat bags and tied them off with a cute boat steering wheel.


Down the hallway is an amazing bench I rented from a little antique shop in Sandy. It was a perfect backdrop for all the gifts. Do you see the car seat cover? My talented mom made that! I love it so much I want her to help me redo mine! I love making diaper cakes and wanted something to match the theme. I love how the wooden sailboat turned out!


Here we go into the main living area. I just want to tell you that I was planning on having this shower outside for weeks! Mother Nature decided everyone needed a shower that day though. My husband even built a beautiful pergola outside in time for this! I do love how it turned out inside anyway. The sailboats are borrowed from my other neighbor Sara. They were the perfect detail! Also, I may have a slight obsession with paper lanterns and this shower was the perfect excuse to feed it....


Now the pièce de résistance as they say. The dessert table! I am so in shock that one of my big ideas actually came out perfect! My neighbor, sister in law, sisters and mom all worked on that backdrop. It took SO LONG even with all of them working on it. The rope anchor I made in a weekend but I love it! I wish I had an ocean themed house so I could display it. Maybe just summer decor? The cookies were another amazing neighbor collaboration. Erin made the cookies and Shauna decorated them! They are so cute and were perfect! See the tiny little anchors in the corner? Love it! I did the cupcake toppers and the chocolate covered oreos also with the help of my neighbor Brittany (she was by my side almost the whole time helping me out!). And a little graham cracker sand to top off the beach feel. What do you think?


We had a drink table with lifesaver themed milk. I found some nautical themed items at an antique store and painted them to match.


I feel like I can brag about the food a lot since I didn't make any of it! Everything was sooo good! Those mini biscuits and gravy were a huge hit for the pregnant lady and myself. Thanks to my sister in law Jen for coming up with those! But really, the quiche, the pancakes, strawberries and cream? AMAZING! I love breakfast and the brunch themed menu worked so well.


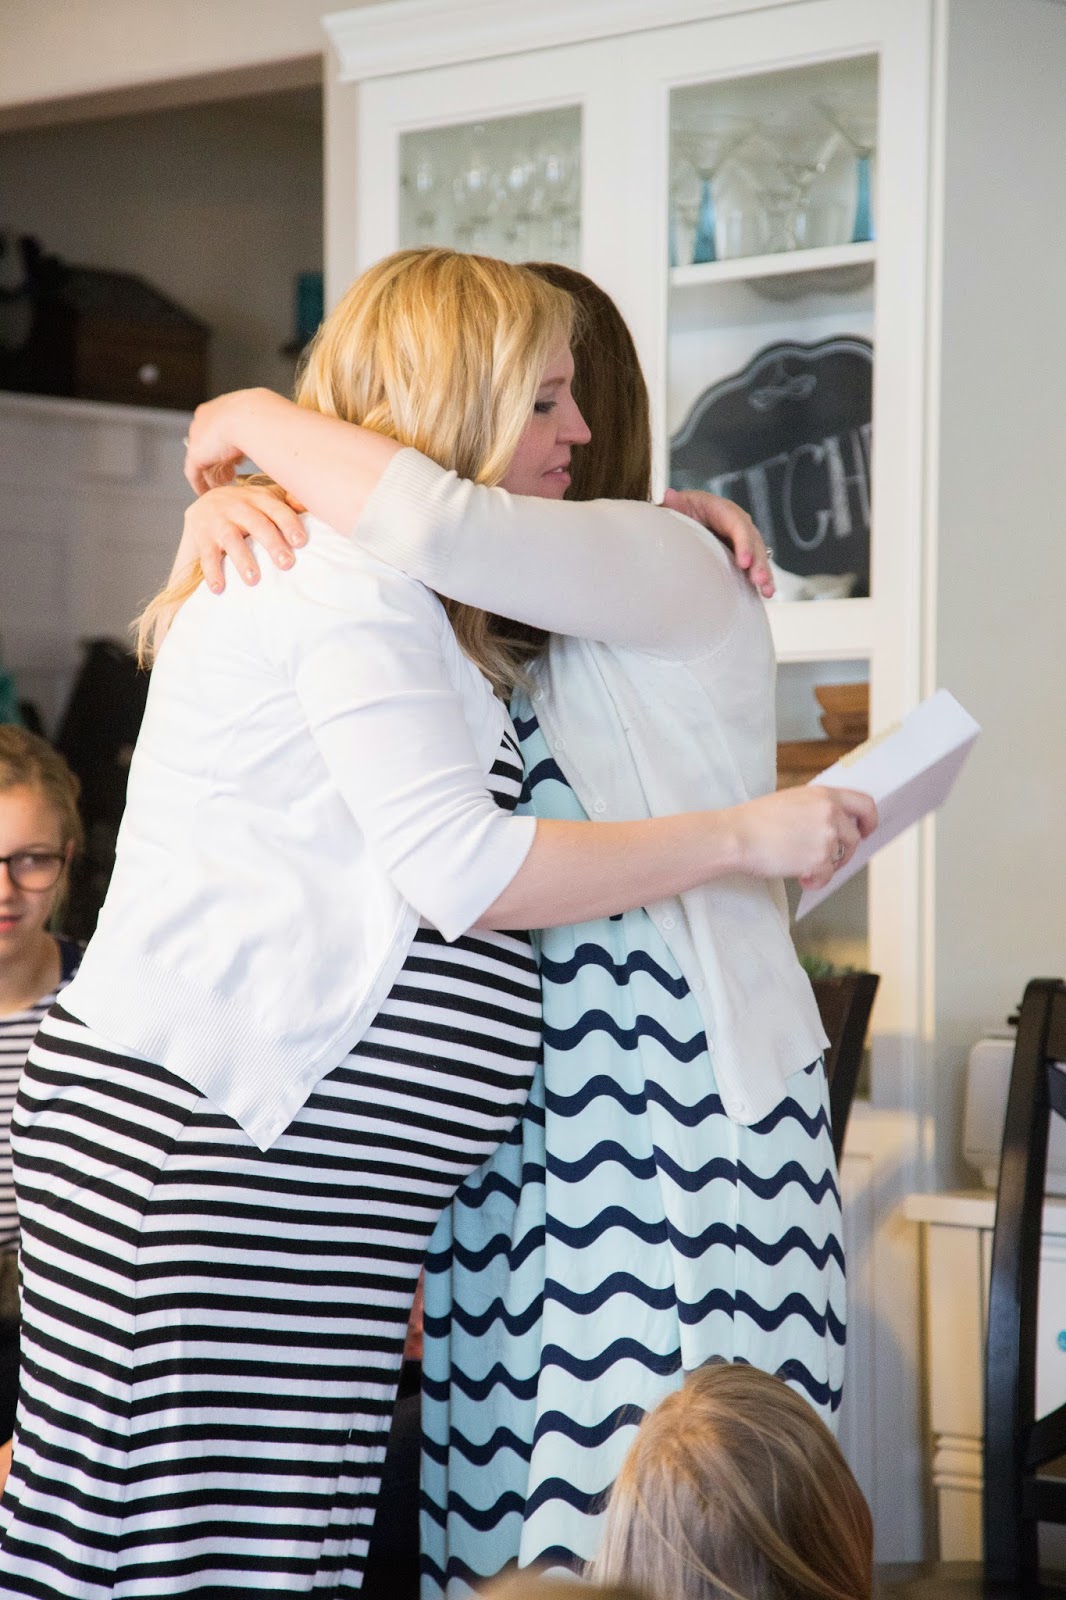
I really like this picture for some weird self absorbed reason. I'm in the blue and mint striped dress there frantically running around barefoot making sure the food is getting ready and all the little details are up. I guess I like that this is such a realistic picture. My parties rarely start on time, or they start without me because I'm obsessing over this or that. I guess I need to plan in advance better or just learn to let go. But let's be real, I doubt that will ever happen! But I always enjoy the stress that comes with events. I THRIVE off of it! Give me more parties! Please!!!

Here we go, some more amazing people that stepped in to help! (they were proably just really hungry and were willing to do anything so we could eat...) but really, I am SO appreciative of everyone that helped make this a success! THANK YOU!!

Oh, who's that cutie pie?? Just my little Drew. I am so in love with him and I am so excited for baby Jack to be his cousin!


Oh it's so tiny! I love watching others open gifts.

Okay I wasn't going to post this but do you ever get so excited/anxious for something and then when it gets there you just burst into tears of joy/relief? No? Oh, alright... Well I do! I just wanted to tell my sister how much I love her and how much she taught me to be an amazing mother like her, but I doubt anyone understood a word I said because it was all blubbery. Not to mention I'm the ugliest crier and I'm sure everyone was averting their eyes. She was nice about it and just hugged me to help my tears be validated. She rocks you guys. I don't tell her that enough...

Baby Jack is already here and he is ADORABLE! I love him so much already!

And this is the end! My mom and my sisters. Aren't we cute?? Thanks for reading everyone! I hope you enjoyed this party!


